Añadir una capa a través del protocolo WCS
Introducción
The WCS (Web Coverage Service) is another of the OGC standards supported by gvSIG. The WCS is a coverage server. It is different from WMS as this standard defines a map as a representation of geographic information in the shape of a digital image file which can be shown on a computer screen. The map does not include its own data but WCS, however, does provide its own data, which can subsequently be analysed. WCS therefore allows raster data to be analysed just as WFS allows vector data to be analysed.
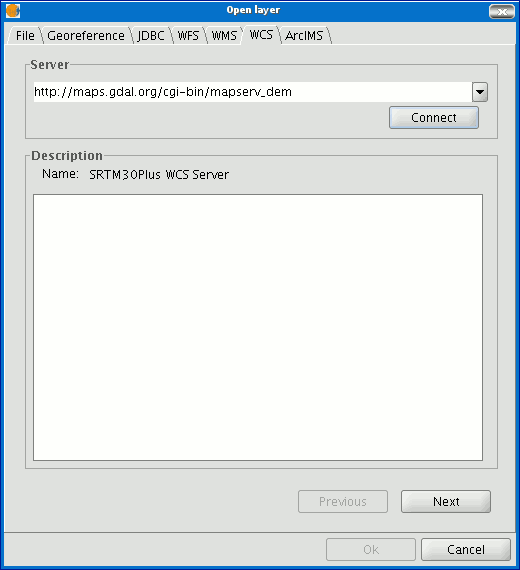
- The pull-down menu shows a list of WCS servers (you can add a different server if you don’t find the one you want).
- Click on “Connect”. gvSIG connects to the server.
- and 4. When the connection is made, a welcome message from the server appears, if this has been configured. If no welcome message appears, you can check whether you have successfully connected to the server if the “Next” button is enabled.
Acceso al servicio
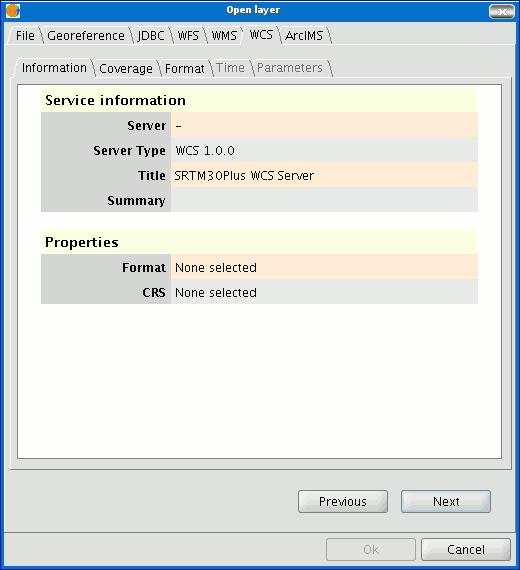
Click on “Next” to start configuring the new WCS layer.
When you have accessed the service, a new group of tabs appears.
The first tab in the adding a WCS layer wizard is the information tab. It summarises the current configuration of the WCS request (service information, formats, spatial systems, layers which make up the request, etc.). This tab is updated as the properties of its request are changed, added or deleted.
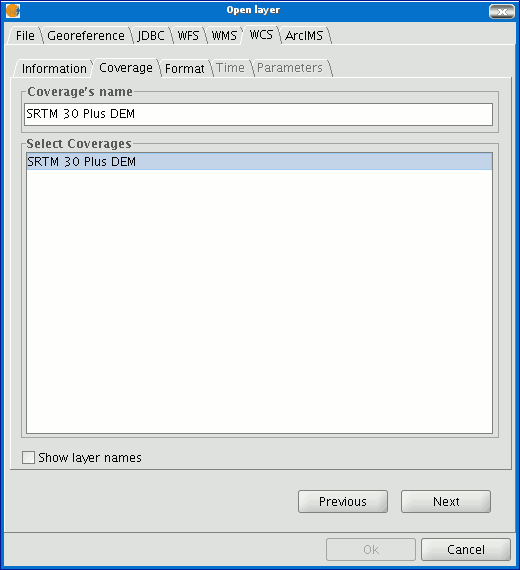
Selección de "Coberturas"
Select the coverage you wish to add to your gvSIG view. If you wish, you can choose a name for your layer in the “Coverage name” field.
Selección de "Formato"
You can choose the image format you wish to use to make the request and reference system (SRS) in the “Format” tab.
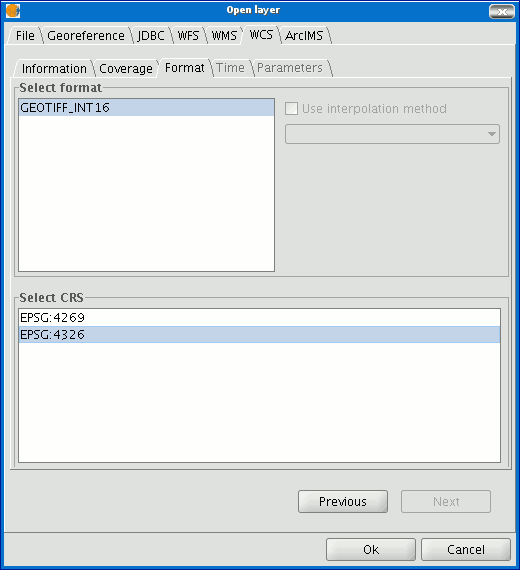
N.B. Tabs such as “Time” and “Parameters” are disabled in this case. Configuring these variables depends on the server chosen and the type of data it has access to.
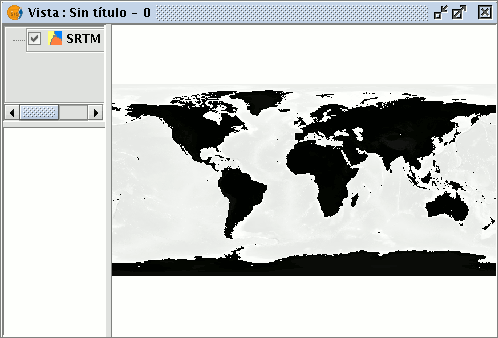
Añadir la capa WCS a la vista
As soon as the configuration is sufficient to place the request, the “Ok” button is enabled. If you click on this button, the new WCS layer will be added to the gvSIG view.
Modificación de las propiedades de una capa
Once the layer has been added its properties can be modified. To do so, go to the Table of contents in your gvSIG view and right click on the WCS layer you wish to modify. The contextual menu of layer operations appears. Select “WCS Properties”.
The “Config WCS layer” dialogue window appears. This is similar to the wizard for creating the WMS layer and can be used to modify your configurations.
